Need 24/7 Service? Call for Emergency Repairs Call:
Winter Chill in Marietta: How to Winterize Your Garage Door for Cold Snaps
Updated: January 26, 2026
Do these four things before a Marietta freeze: (1) replace brittle weatherstripping and bottom sweep, (2) insulate the garage door or door perimeter, (3) lubricate rollers/hinges/springs and test opener safety sensors, and (4) visually inspect springs/cables and call a licensed technician for any spring work. These steps reduce freeze-related door stiffness and the risk of a snapped spring that can leave you stuck in cold weather. Hunker
Short, prioritized winterization checklist for Marietta (East Cobb) homeowners: safety/visual check, replace seals, insulate door, lubricate moving parts, test opener and backup power, and never DIY springs. Follow steps below for tools, timing, costs, and when to call a pro.
What's the quickest way to keep my garage door working during an East Cobb freeze?
Short direct answer
Replace worn weatherstripping and the bottom sweep, add insulation or retrofit panels, lubricate rollers/hinges/springs with a silicone-based product, and verify opener safety sensors and battery backup. If springs look cracked or a coil gap appears, stop and call a licensed technician.
When and why this matters in Marietta, GA
Local climate facts you should know (with dates)
Marietta's winters are generally mild, but nights dip into the lower 30s in January—cold enough to freeze moisture and make metal parts contract. Average January lows hover around 34–35°F. A sudden freeze after a warm day stresses metal springs, causes seals to harden, and can make rollers and tracks stiff—precisely when you need reliable operation. See local climate averages at WeatherWorld.
Tools and materials (quick)
- Tape measure, utility knife, silicone caulk, weatherstripping (doorstop or adhesive foam), replacement bottom sweep, threshold kit (if needed). See Hunker for weatherstripping basics.
- Silicone-based garage lubricant (for springs, rollers, hinges), clean rag, ladder, safety glasses.
- Digital camera/phone to document wear for a technician.
Step-by-step winterization checklist (priority order)
Step 1 — Visual safety & balance inspection (5–10 minutes)
- With the door closed, look for gaps of light around edges, brittle or cracked rubber, and obvious rust or gaps in torsion springs. Do not attempt to wind or unwind springs. If you see a visible gap in a torsion spring coil, call a pro immediately. Guidance: Columbus Door Sales.
- Check cables for fraying and tracks for dents. Photograph anything unusual for your technician. See general safety notes at StaySafe.
Step 2 — Replace weatherstripping and bottom sweep (20–45 minutes; easy–moderate DIY)
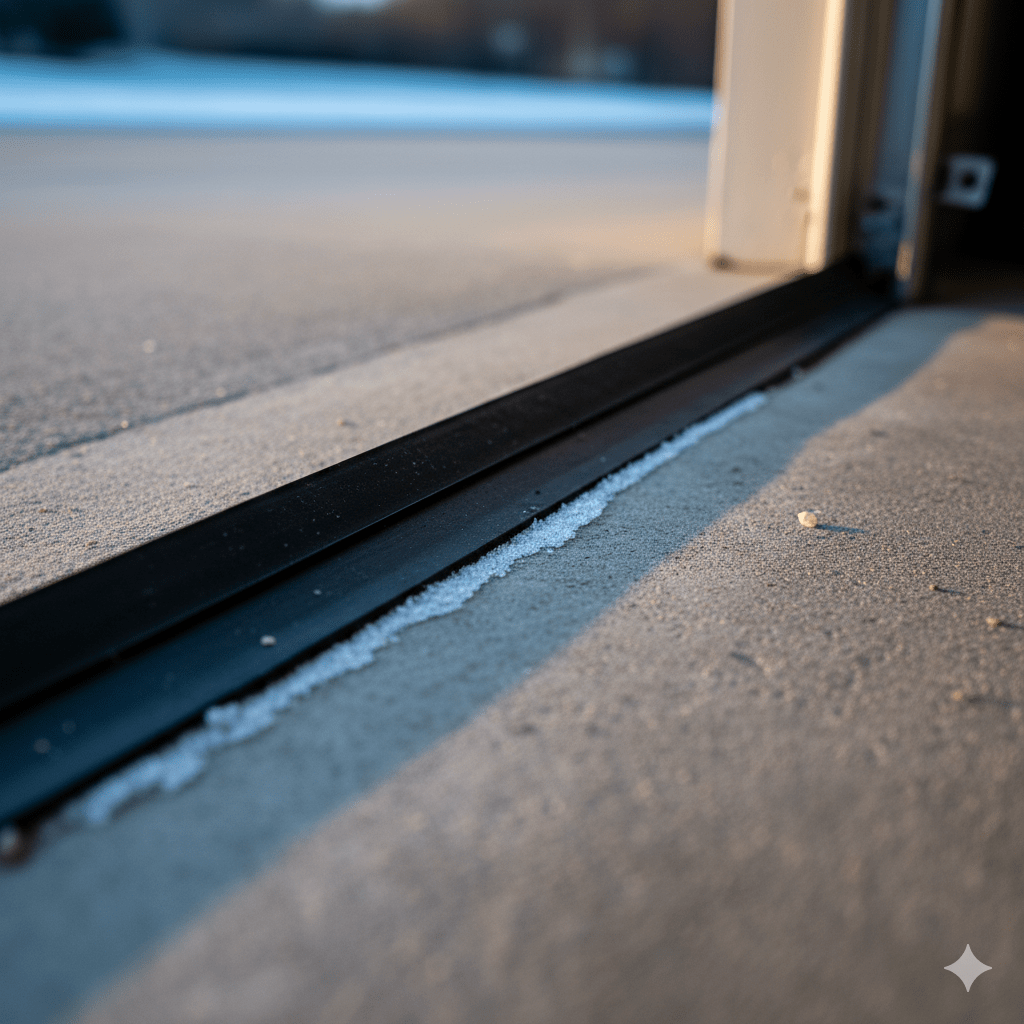
Why: Worn seals let cold air and moisture in, encourage ice at the threshold, and let warm house-air escape if your garage adjoins living space. Replacing the doorstop weatherstripping and the bottom sweep is low-cost and often solves most winter drafts. How: Clean mating surfaces, measure and cut new strips to length, attach per manufacturer instructions (nail-on, screw-on, or adhesive), and test for light gaps when the door is closed. If you have a sloped driveway, consider adding a glued threshold in addition to a bottom sweep. Practical steps: Hunker.
Step 3 — Insulate the garage door and perimeter (DIY or pro; 1–3 hours)
Door-only insulation kits or cut foam board can raise thermal performance and reduce condensation on cold nights. Door retrofit cost commonly runs in the $500–$700 range for a typical two-car door installed. For energy and health reasons, follow Department of Energy guidance to insulate and air-seal the garage-to-house floor/ceiling if the garage borders conditioned living space. See Fixr for cost ranges and Energy.gov for sealing guidance.
Tip: Use closed-cell foam boards or foil-backed insulation panels on the interior face of metal doors; avoid over-thick materials that bind the door.
Step 4 — Lubricate moving parts (10–20 minutes)
Use a silicone-based or garage-specific spray lubricant on rollers, hinges, bearings, and a light coat on springs (do not over-lubricate). Avoid using petroleum-based spray (like plain WD-40) as the primary lubricant for long-term results. Regular lubrication reduces friction caused by contraction in cold weather. See ThirdGen Garage Doors for lubrication tips.
Step 5 — Test opener safety features and battery backup (5–10 minutes)
With the door closing, place a 2-inch high block in the path. The door must reverse within two seconds (auto-reverse). Test photo-eye sensors by interrupting the beam while closing. If either test fails, stop using the opener and call for immediate repair—non-reversing openers are a known hazard per the CPSC. Also test any battery backup so you won't be stranded during outages.
Step 6 — What to never DIY: springs, cable tension, major opener repairs
Spring replacement, cable tensioning, and torsion-spring adjustments are high-risk tasks that require tools and training. If your door feels extremely heavy or springs show gaps, call a licensed garage door technician—springs store lethal energy. Document age of springs (if >7–10 years or unknown, consider proactive replacement). See a technician safety note at Gecko Service Pros.
Quick priority table: cost, difficulty, time
| Task | Why | DIY Difficulty | Typical cost (US avg) |
|---|---|---|---|
| Replace bottom sweep & side/top weatherstripping | Stops drafts, reduces ice | Easy | $15–$80 (materials) |
| Lubricate rollers/hinges/springs | Prevents stiffness | Easy | $10–$25 lubricant |
| Insulate door panels / add foam board | Reduces thermal transfer | Moderate | $200–$700 (door retrofit) |
| Threshold installation | Blocks slush & cold drafts | Moderate | $30–$150 |
| Spring replacement / balance test | Safety + reliable lift | Professional only | $150–$350 per spring (typical) — see Fixr |
Real-world example: a Marietta freeze that taught one homeowner a lesson
Here's the truth: last January in East Cobb I helped a neighbor after a sudden freeze. Their bottom seal had shrunk and the door froze to the threshold overnight. The opener strained, and a spring that was already 10 years old snapped the next morning. A $30 bottom sweep and a $220 spring replacement saved repeated emergency calls and a long cold driveway wait. Small, inexpensive fixes prevent big winter problems. Weatherproofing basics: Hunker.
FAQ — 6 common homeowner questions (short answers)
Q: Can I use standard caulk around the door instead of weatherstripping?
A: No—caulk seals gaps but won't flex with door movement; use proper door weatherstripping and a threshold. See Hunker.
Q: How often should I lubricate?
A: Twice per year—before winter and in spring. See lubrication guidance: ThirdGen Garage Doors.
Q: My door is slow only when cold—what gives?
A: Likely stiff rollers/tracks, frozen seals, or failing bearings; lubricate and if problem persists, have a technician inspect springs and opener. See maintenance checklist at ThirdGen Garage Doors.
Q: Is insulating the entire garage worth it?
A: If the garage connects to conditioned living space or you use it as a workspace, insulating walls/ceiling and sealing is recommended per the Department of Energy.
Closing hard advice
- Replace brittle seals and lubricate before the first forecasted freeze.
- Never attempt spring replacement—call a licensed technician.
- Test safety sensors and auto-reverse; a failing sensor is a safety hazard noted by the CPSC.
Sources and further reading
- Marietta climate averages — WeatherWorld
- Insulate and air seal over unconditioned garages — U.S. Department of Energy
- Why garage door springs break in winter — Overhead Door
- How to weatherstrip a garage door — Hunker
- Garage door insulation cost and guidance — Fixr
- Non-reversing garage door openers are a hazard — CPSC